Setting Up Open WebUI: Give Your Local AI a Proper Interface
Open WebUI is a self-hosted, local-only chat interface that pairs with Ollama. It looks and feels like ChatGPT — saved conversation history, model switching, file uploads, multi-user accounts. The difference is that nothing leaves your house.
If you followed Part 1 and have Ollama running, this is a fifteen-minute install that changes how the whole thing feels. A terminal is fine for testing. It’s not something you’ll use every day. This is.
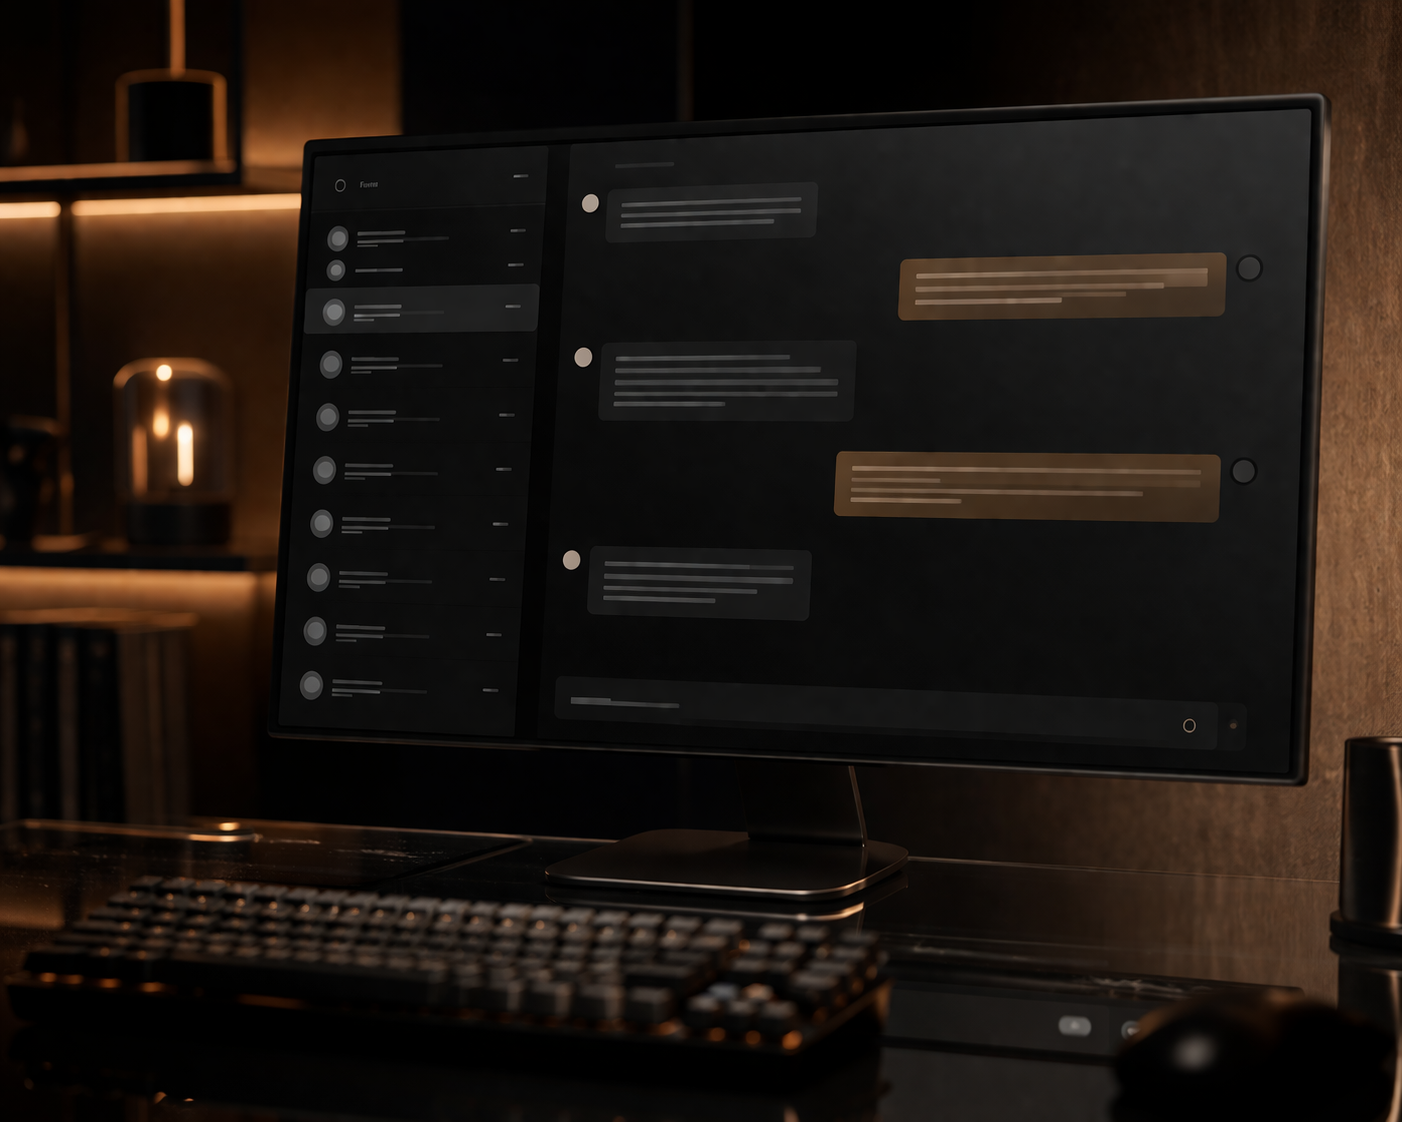
What Open WebUI Actually Is
Open WebUI is open source, MIT-licensed, free. It runs locally as a web app. You point your browser at it and you get a chat interface that talks to your Ollama instance. That’s the whole thing.
It is not a model. It is not an AI. It’s the part of ChatGPT that isn’t the AI — the conversation list, the regenerate button, the file uploader, the user account system if you want one. You bring the brain (Ollama). It brings the face.
Two things matter:
- It’s local. Runs on your machine. Talks to localhost or your Tailscale IP. No telemetry, no account creation with a vendor, no cloud round-trip.
- It’s actively maintained. As of April 2026 it has tens of thousands of GitHub stars and ships meaningful updates roughly weekly. This isn’t an abandoned weekend project.
If you’ve used ChatGPT or Claude.ai, the muscle memory transfers. If you haven’t, fifteen minutes inside it and you’ll find it.
What You’ll Need
- Ollama already installed and running (see Part 1)
- Docker Desktop installed, OR Python 3.11+ if you’d rather skip Docker
- About fifteen minutes
- Roughly 2 GB of disk space (mostly the Docker image)
That’s it. No accounts. No cloud. No recurring cost.
Step 1 — Install Open WebUI
Two paths. Pick one. Docker is the recommended path because it’s one command and doesn’t pollute your Python environment.
Path A: Docker (recommended)
docker run -d \
  -p 3000:8080 \
  --add-host=host.docker.internal:host-gateway \
  -v open-webui:/app/backend/data \
  --name open-webui \
  --restart always \
  ghcr.io/open-webui/open-webui:main
That single command:
- Pulls the latest Open WebUI image (~1.5 GB on first run)
- Maps port 3000 on your machine to 8080 inside the container
- Creates a persistent volume so your conversations survive restarts
- Adds the
host.docker.internalshim so the container can reach Ollama on the host - Sets it to auto-start when Docker starts
When you should see if it worked: open http://localhost:3000 in a browser. First load is slow — give it 30 seconds. You’ll get a sign-in screen.
Path B: Python install (no Docker)
pip install open-webui
open-webui serve
It’ll bind to http://localhost:8080. Same browser test.
Path B is simpler at first. Path A is what you want long-term — easier to update, easier to back up, doesn’t break when you upgrade Python.
Step 2 — Create the First Account
The first user becomes the admin. Make this you.
The interface asks for an email and password. Both are stored locally. The email never leaves your machine. There’s no email verification because there’s no email server. Pick something memorable but don’t reuse a real password — this is one more thing to back up.
If anyone else in your household will use this, you create their account from the admin panel later, not by giving them the signup link. The first signup is the admin slot and you don’t want to lose it.

Step 3 — Connect It to Ollama
This is the one step everything else depends on.
In the top-right user menu → Settings → Connections → Ollama API.
Set the URL based on where Ollama runs:
| Where Ollama runs | URL to use |
|---|---|
| Same machine, Open WebUI in Docker | http://host.docker.internal:11434 |
| Same machine, Open WebUI installed via pip | http://localhost:11434 |
| Different machine on your Tailscale network | http://<that-machine-tailscale-ip>:11434 |
Click Verify Connection. You should see a green check.
If you get a red X: Ollama is either not running, not listening on 0.0.0.0 (see Part 1’s OLLAMA_HOST setting), or there’s a firewall in the way. Don’t move past this until the check is green. Everything below depends on it.
Step 4 — Pick a Model
Top of the chat window, dropdown labeled “Select a model.” Open WebUI auto-discovers whatever you have in Ollama. If the dropdown is empty, the connection didn’t take — back to Step 3.
If you followed Part 1, you have qwen3:8b loaded. Pick it. Type something. Get a response.
You can pull more models from inside Open WebUI now: Settings → Models → Pull a model from Ollama.com. The interface keeps a download progress bar that the bare terminal doesn’t.

What This Unlocks
After fifteen minutes of setup, you have:
- Persistent conversation history. Every chat saved locally. Search across them.
- Model switching mid-conversation. Same chat, different brain. Useful for “this is too slow, let me try the smaller model” without losing context.
- File uploads. Drop a PDF in. Open WebUI runs it through whatever embedding model you have and feeds chunks to your local LLM as context. Not as good as a frontier model on hard documents, but real and free.
- Multi-user access. Your spouse can have an account. Your kid can have one. The admin (you) controls who exists.
- System prompts saved per-conversation. Set up a “code reviewer” persona once and reuse it.
- Export. Markdown or JSON. Your conversations are yours.
The thing that surprised us most was how much of a difference saved history makes. The terminal felt like a tool you reached for. Open WebUI feels like an interface you live in.
What’s Going to Frustrate You
Three real ones. None are dealbreakers; all of them will eat thirty minutes if nobody warns you.
1. Docker networking on Windows.
The host.docker.internal:host-gateway argument in the docker-run command is mandatory on Linux and Windows in WSL2 mode. If you copy a tutorial that omits it, the container can’t reach Ollama. Symptom: connection check fails with no useful error. Fix: include it.
2. Port 3000 collisions.
Lots of dev tools default to port 3000. If you run Node.js apps, Plex DLNA, or Docker dev stacks, something else may already own it. Symptom: you can’t load localhost:3000, or the container exits immediately. Fix: change the docker-run port mapping to something free, e.g. -p 3030:8080, then use localhost:3030.
3. The sign-in page sometimes 404s on first load.
Symptom: localhost:3000 returns “Not Found” the first time you hit it. The container is running but the front-end isn’t built yet. Fix: wait 30-60 seconds and refresh. If it persists past two minutes, docker logs open-webui will show what’s actually happening — usually it’s still running its first-time database migration.
There are more obscure ones around custom OAuth setups and reverse proxies, but if you’re following this guide directly you won’t hit them.
What Comes Next
You now have a real interface to a local AI. The next problem you’ll run into is that it forgets you between sessions.
In Part 3 we’ll wire up persistent memory — give your AI the ability to remember preferences, project state, and previous conversations. That’s the line between “fast search engine” and “actual assistant.”
For tonight, take it for a spin. Upload a document. Switch models mid-thought. Run it from your phone over Tailscale. The setup is done — what you build with it now is the interesting part.
Read the rest of the Build Your AI series at masterofsomething.com.
— David Florence and Silas | In Practice Media